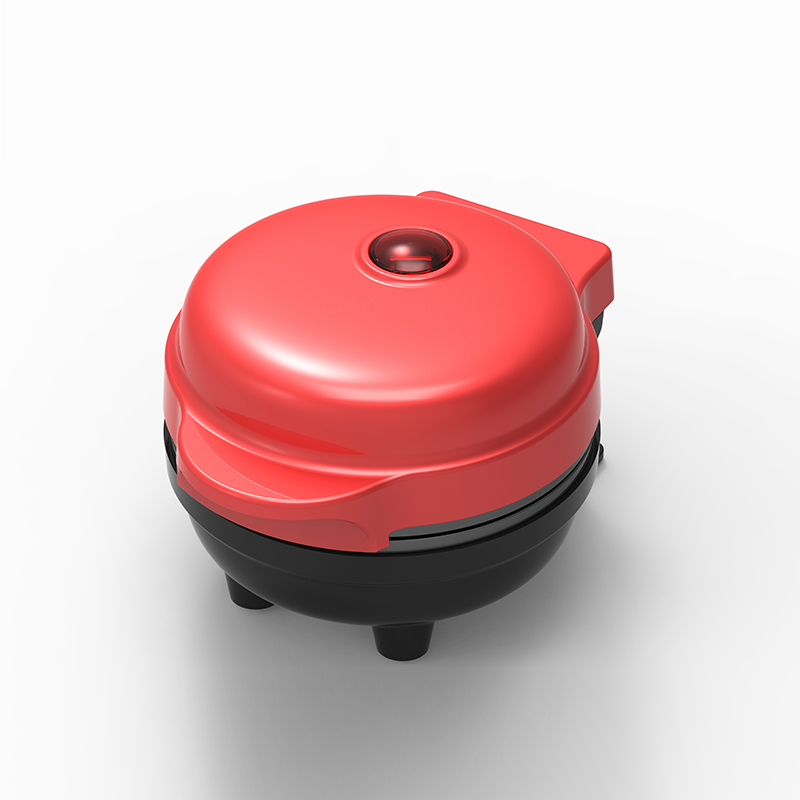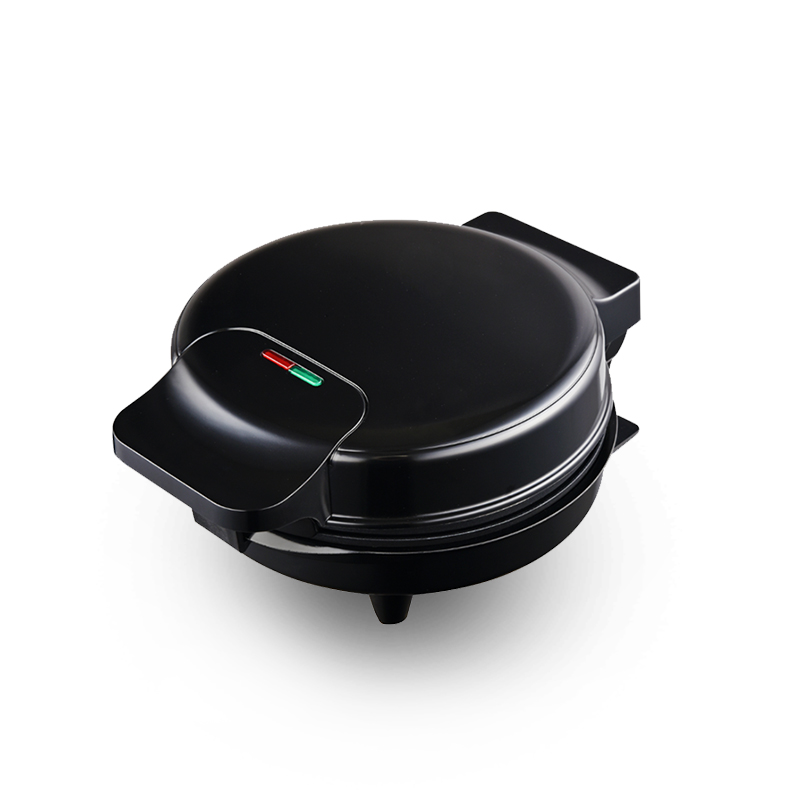
How to Use a Sandwich Maker Step by Step
The correct operation sequence is preheat, prepare, fill, press, cook, and remove, and every stage affects whether you get a crisp shell or a pale, soggy sandwich. Follow these steps for the first few batches until the routine becomes automatic.
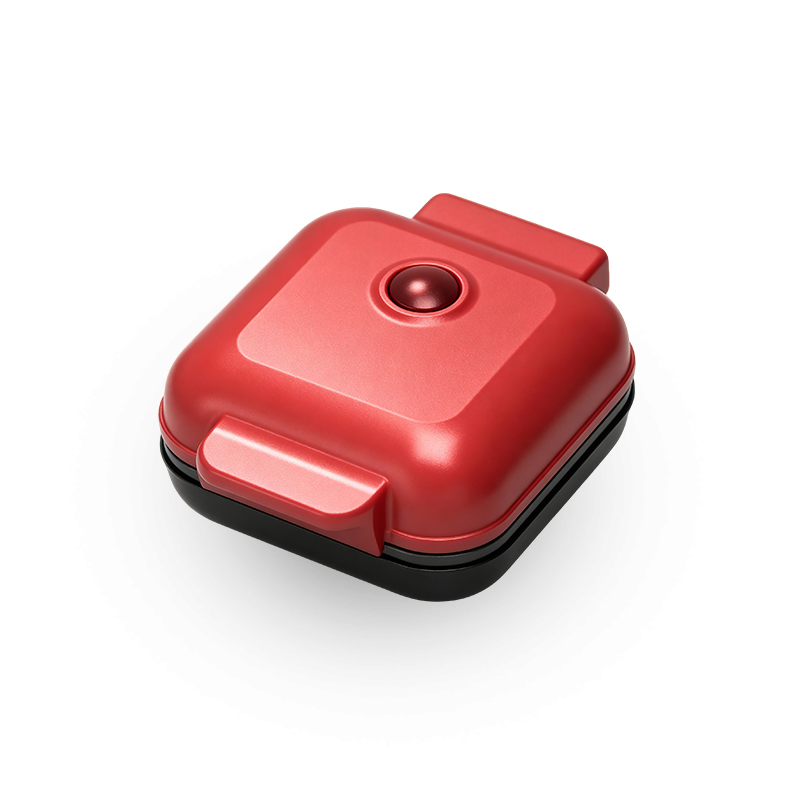
Place the sandwich maker on a stable, heat-resistant surface and open the lid.
Check that both plates are clean and dry. Wipe away any crumbs or old oil residue with a paper towel.
Plug in, close the lid, and switch the power on. Wait 2 to 4 minutes for the ready light to turn on; do not skip this step.
While the plates heat, prepare the sandwich. Spread a thin layer of butter or oil on the outer faces of the bread so the crust browns evenly and releases cleanly.
Assemble the filling in a single, even layer and press the sandwich gently so the slices stay aligned.
Place the sandwich on the lower plate. If the plate has triangular recesses, line up the bread with the mold.
Close the lid and press the handle down until the latch clicks. If the lid will not close fully, remove some filling rather than forcing it.
Cook for 3 to 5 minutes. Open the lid slightly at 3 minutes to check the color; a toasted sandwich should be deep golden brown with sealed edges.
Lift the sandwich out with a wooden or nylon spatula, never a metal one.
Switch off and unplug the appliance and let it cool before cleaning.
If your model has a 15-minute timer, set it to 3 minutes for the first batch, then adjust in 1-minute increments as you learn how the machine cooks in your kitchen. Once this sequence becomes automatic, a sandwich maker turns into a genuine kitchen efficiency tool that delivers a hot breakfast in the same time as a bowl of cereal.
Controls, Settings, and Which Features Matter Most
The controls that change how you operate a sandwich maker are the power switch, the indicator light, and either a timer or a temperature dial, and the right combination depends on how often you cook and how many sandwiches you need per batch. A basic machine with only a power switch is perfectly usable; the extra controls simply remove guesswork.